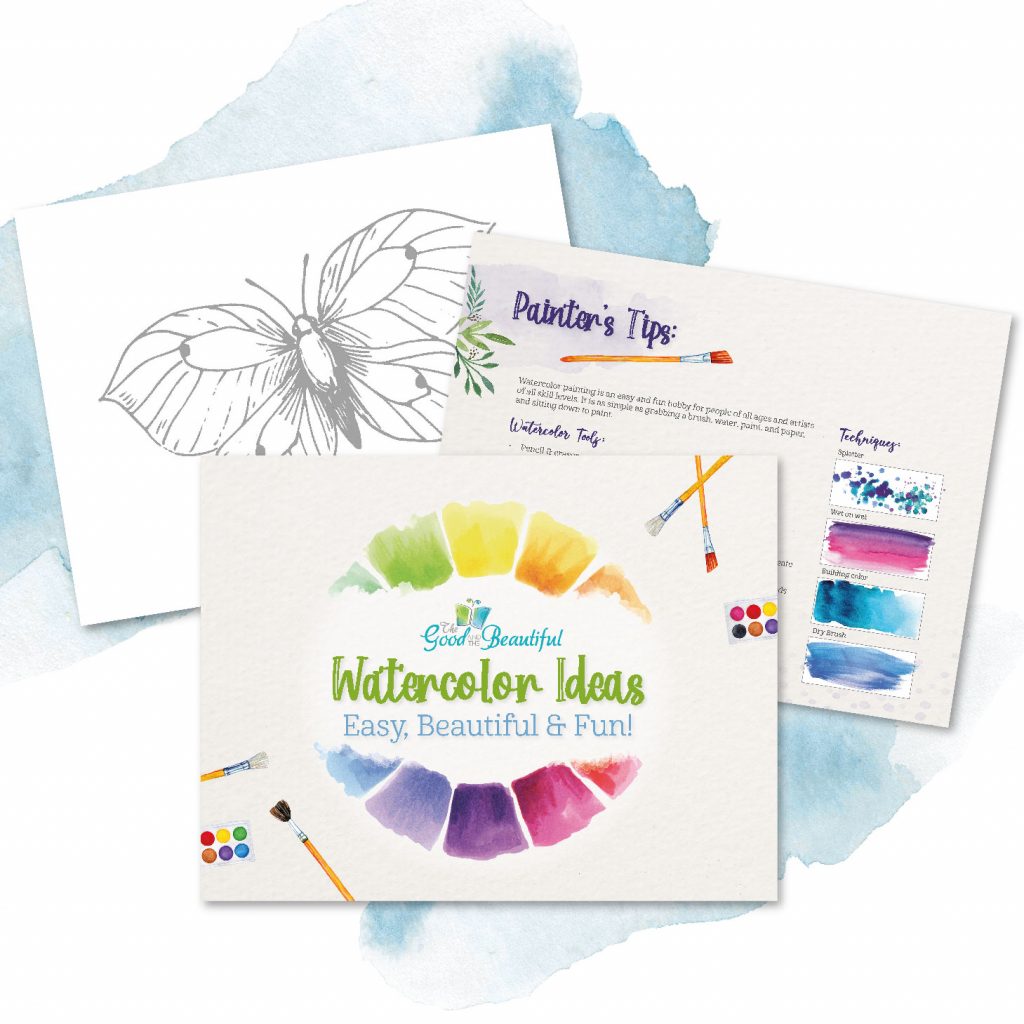
Need a few watercolor painting ideas? Keep reading!
Watercolor painting is an easy and fun hobby for people of all ages and artists of all skill levels. It is as simple as grabbing a brush, water, paint, and paper and sitting down to paint.
Learn more about watercolor tools and techniques in this post to help you have a successful painting experience.
Easy Watercolor Ideas
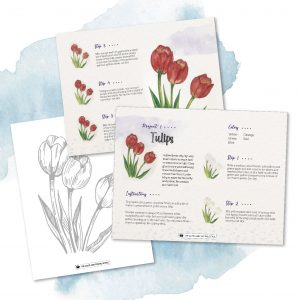
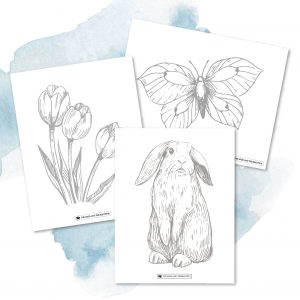
Click below to download the free step-by-step instructions for how to turn an outline of tulips into this detailed watercolor. Use the rabbit and butterfly sketches to practice the techniques found in this blog.
Jump ahead in the blog post to learn more about. . .
- Top watercolor materials and how to care for them
- Watercolor paper options
- Watercolor techniques
- Artists’ tips for painting with watercolors
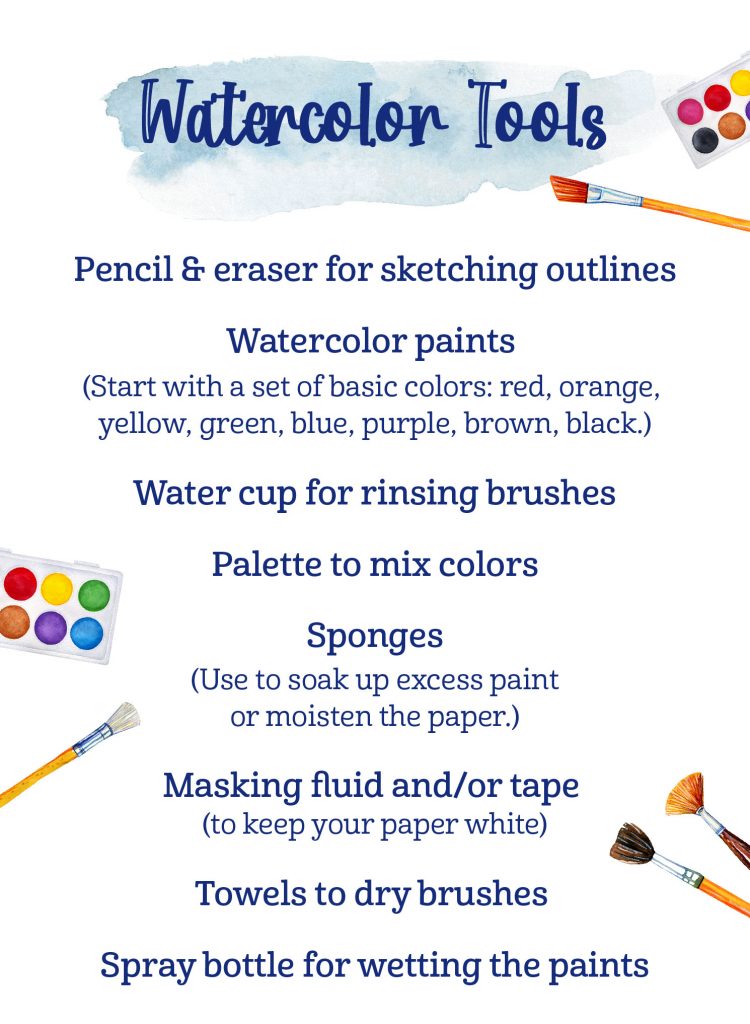
Watercolor Brushes
Investing in a set of high-quality brushes is a top priority for all new watercolor artists. Good natural and synthetic brushes are available at several price points. Using well-made brushes helps painters practice new techniques with success.
Brush Shapes
Brushes are made in various shapes and sizes. Each brush is used to create different strokes, fills, and techniques.
It is better for a beginner to have two to four quality brushes than an abundance of shapes and sizes. Choose one or two sizes of round and flat brushes to begin with if you are watching your budget.
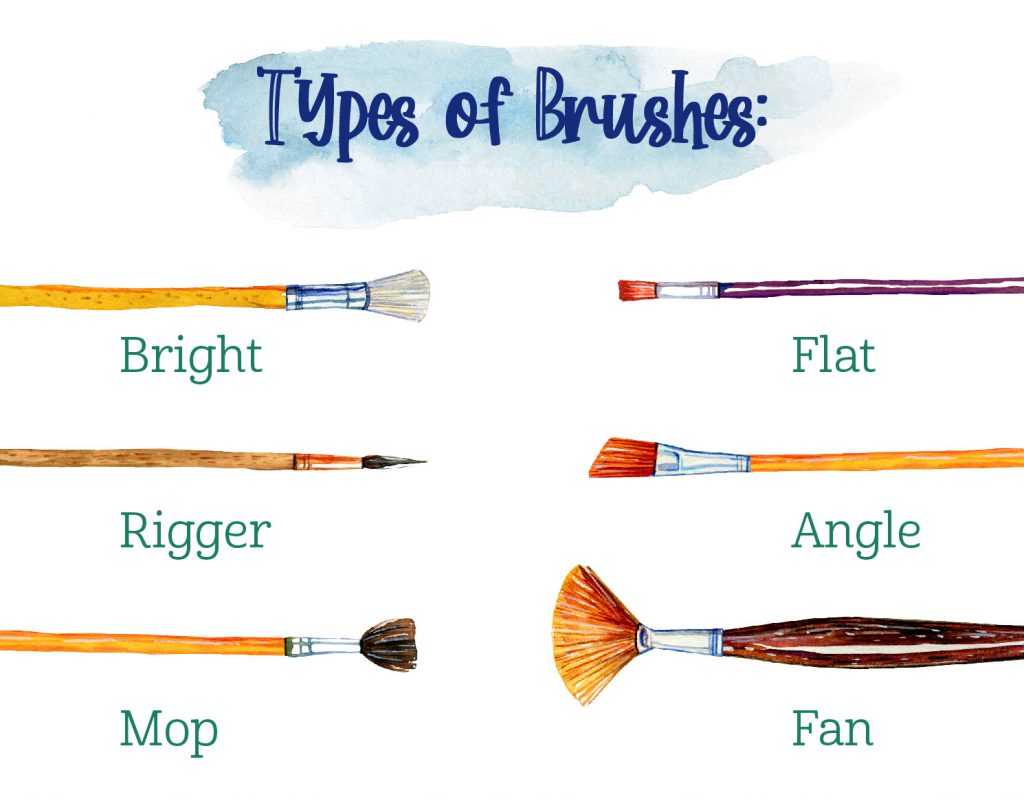
- Round: most versatile; holds plenty of water for broad strokes and comes to a fine point for detailed work
- Flat: stiffer rectangular shape; good for washes or linear strokes
- Dagger: flat and angled; used for painting over washes or details with the sharp corner
- Wash: like a larger flat brush; used to wet the paper or create large, sweeping strokes
- Mop: wide but comes to a fine point; good for thin and wide strokes and for blending
- Detail: There are many other specialty brushes to explore!

Brush Care
Watercolor brushes are softer and more delicate than acrylic brushes and need proper care.
- New brushes should be rinsed with warm water before their first use.
- After that, always use cold water to rinse your brushes.
- Wet your brush before dipping it in paint.
- Do not let your brushes sit in water.
- Rest your brush on a dry towel or sponge.
- Once your brushes are completely dry, store them, bristles up, in a jar.

Proper cleaning and care of your brush set will help your brushes last for many years.
Watercolor Paper
Watercolor paper varies in texture and weight. The paper you choose depends on the details of the project and techniques you decide to use.
Textures
- Hot-pressed paper: smooth, even texture
- Cold-pressed paper: medium texture
- Rough: rough texture
Weights
- 90 lb: thin
- 140 lb: most common
- 300 lb: thick, sturdy

When choosing watercolor paper, consider the erasability of the paper. Watercolor artists will often sketch outlines on their paper before painting.
Being able to completely erase marks on the paper without damaging the paper helps to create a beautiful final product.
Watercolor Techniques
If you’re looking to advance your watercolor skill, try a few of these techniques the next time you paint:
• Value scale: Create lighter or darker colors by adding more or less water to the pigment.
• Flat wash: Create a flat, light, all-over wash on a large area. This is good for creating sky or water.
• Wet-on-wet: Use a wet brush on wet paper.
• Wet-on-dry: Use a wet brush on dry paper.
• Graded wash: Start with a dark color loaded on the brush, then pull a stroke across the top. Continue pulling strokes across, adding more water to lighten the value as you progress.
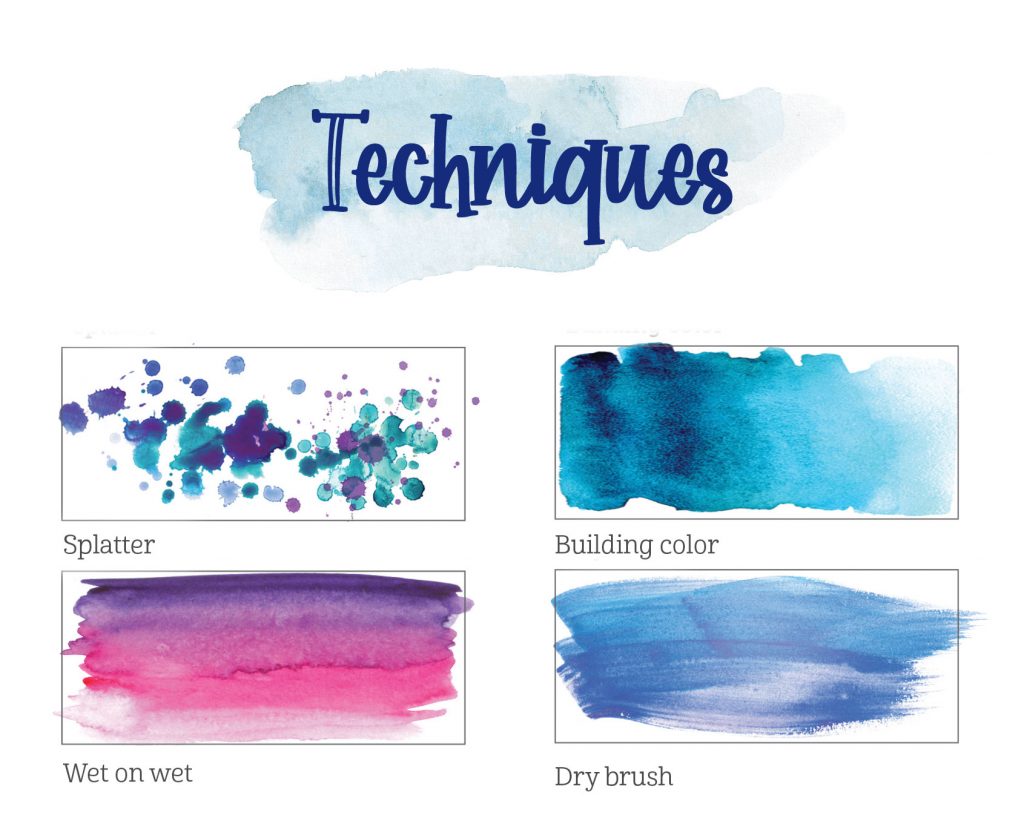
- Drop color: Let watercolor drop from your brush onto wet paper.
- Dry-brush: Load brush with paint, then dry it off and apply it onto dry paper.
- Hard edge: Apply wet paint next to dry paint to create a sharp edge.
- Soft edge: Apply wet paint next to wet paint to create a bleeding edge.
- Blended color: Apply one color on one side and apply a second color on the other side, blending one color into the other.
- Layering (glazing): Apply a base layer. Let it dry. Then apply additional layers, allowing time to dry between layers.

Try these watercolor painting tips at home!
• Choose the right brush. Since larger-sized brushes are good for covering bigger areas, we recommend using them to paint backgrounds. Use a medium-sized brush to mix paints with water and add color to smaller areas. Small brushes are excellent for painting fine lines and details.
• Use two cups of water as you paint—one for rinsing your brush and one for clean-water application.
• Use the paints you have to create the tints and shades you need. For lighter tints, add water to your palette lid with a clean brush, and then add a drop or two of paint to the water until you get the tint you desire.
• For darker shades, use more color and less water so your shade is more intense. You can also create deeper shades by adding more layers of paint.
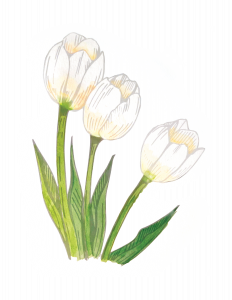
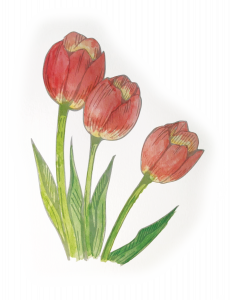
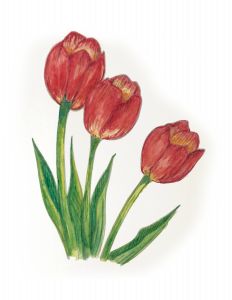
• Add paint in layers. In these projects, you’ll be adding a layer of color in each step. Paint the lightest areas before building up color in the darker areas. Let your paper dry completely before moving on to the next step.
• Turn your mistakes into creative solutions. It’s normal to make mistakes, so instead of giving up or starting over, think of a way to incorporate the mistake into your work.
• If there is an unexpected splatter or drip, add more drips and splatters to create texture. Tidy up an uneven line by drawing over messy spots with a colored pencil after the paint has dried.
Have fun painting! Use these easy watercolor painting ideas to make your own masterpieces!
You may also like . . .









Comments